Sunday, December 25, 2011

Co-worker Gifts

A Merry Christmas to everyone! Hope you are gathering with loved ones today and celebrating a wonderful season. I"ve been very blessed this year, our family is in good health, our kids are excelling in school, we've got stable jobs, it's a lot to be thankful for. 
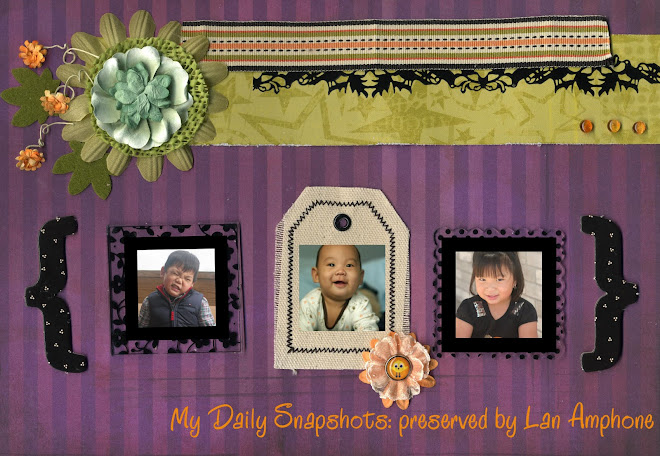
I posted about these two pages over at 3 Scrappy Boys. The pictures are a co-worker's daughter, layouts I gifted to her. :)

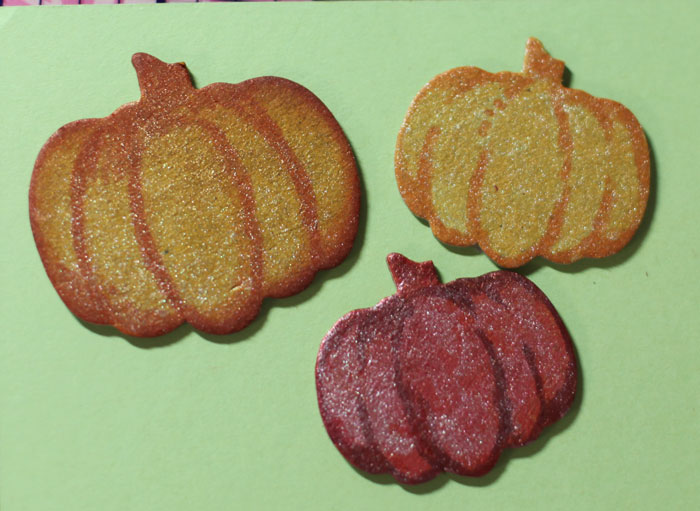
I received this amazing prize package from the wonderful people at Imaginisce for one of their blog giveaways. I tell you what, all this bling is so pretty, makes me want to put it on all my pages now! The bling lipstick packaging is too cute. The i-rock tool is so easy to use, you just plug it in and the heat transfer will just melt the hot rock accents right onto your page where you have it positioned....it's very cool!
I love all things pink and sparkly...I made a set of 15 monogram ornaments for the co-workers. The idea was from my lss, using glue dots dipped in glitter, very easy and cute.
I"m on a week of vacation so hopefully I'll have more pages to share after such a busy month.

Friday, December 2, 2011

Post Retreat

Just getting a chance to finally upload a few layouts completed during my retreat last month. Moving on to my Daily December Album which I'm already 3 days behind! Should have an update soon.

Tuesday, November 29, 2011

It's a Wrap

I hope everyone had a wonderful Thanksgiving break with their family and loved ones.

Now that Black Friday is over the official countdown to Christmas is on!  With those newly purchased gifts, it's time to wrap them up.  I just Love when the packaging includes little touches of cuteness and here are two ideas to add to your wrapping this season.  

1) Add handmade fabric flowers topped with a little bling or buttons.  One of my flowers was adhered to a little hair clip from the November Main kit.  It was just clipped into the packaging so that it can easily be removed and reused.  Love the recycling aspect of that!

2) Roll a tshirt up like a Hogie Sandwich tied with a trio of Ribbons.


I had some scrapbooking tshirts with our theme "Bee Creative" imprinted for my scrappy friends so I decided to go with black/yellow/white/kraft combo.  Taking a sheet of tissue paper in two colors, I just rolled it up and folded the ends to a point.  Then created some quick and easy tags cut from my George cricut cartridge and stamped some polka dots and layered with diecut flowers.  And Wa-lah!!  You have a cute Hogie Sandwich wrapped tshirt.

Tuesday, November 22, 2011

All about the rides

Last month my workplace sponsered a night at All Star Sports with discount tickets so we took the kids and usually they are all about the arcade but surprisingly this time, they spent the majority of the time on the rides. Much better on our wallets. Paxton was still too short to ride on most of the kiddie rides but this bug one was right up his alley and he loved it!


Dancin'

I remember when my nephews just got this dance pad, Micah had a blast moving his little feet to all the arrows. Of course he'd miss the beat each time but when you're two...it didn't matter!


Creative Scrapper's sketch

Monday, November 21, 2011

From Bare to Beautiful

Happy Monday!!!

Today i'm going to show you my step by step process for sprucing up bare chipboard.

Step 1: Lay out the chipboard pieces you want to use and choose the inks, paints, or spray colors that will coordinate with your page. I am using the Maya Road assorted Autumn pieces that came with the November Main it.


Step 2: I inked my pumpkin with some papertry summer sunrise ink


Step 3: Next I used my copics to outline the borders and to draw in the centers for some added dimension


Step 4: And then I misted the chipboard with my new most favorite mist: Mister Huey Calico shine.


STep 5: After it dries a bit I go in with some cats eye chalk and ink the edges some more. Aren't they so pretty?!


For the acorn I used tattered angels Frozen lake" glimmer mist and hunter green cat's eye chalk. Hope you've enjoyed my tutorial, have a great day!

Wednesday, November 16, 2011

3SB Weekend Crop & Sale!

Lots of fun things going on at 3 Scrappy Boys.

This weekend, there is a mini crop going on at the message board. There will be games and challenges as well as some prizes!!! Who doesn't love prizes?! Be sure to head on over and join the fun.

There is also an anniversary sale running through Black Friday with items marked 30% off!! Great way to get a jump start on your christmas shopping!

Tuesday, November 8, 2011

Page Swap

Just came back from our 2nd annual Bee Creative Scrappy Retreat. Traveling was horrible but had a wonderful time with the girls. I got 20 pages done...whooohoo! Haven't even unpacked yet but I'll have lots of pages to share when I do :) Here's one to hold you over, we played a page swap game and this is what I made with a spot to hold our group photo.


Monday, November 7, 2011

3 Scrappy Boys Sketch Challenge

I love having a blueprint to work from, makes all the thinking stress free! Here is my layout: Fall Fun using PageMap's October sketch.


All papers are from 3 Scrappy Boy's November Main Kit. I was able to create 4 pages and a card and had just enough scraps to complete one more.


Happy Scrappin'


Tuesday, November 1, 2011

3 Scrappy Boys *Nov Reveal

Hello, it's reveal time! The November Main kit from 3 Scrappy Boys includes 6 sheets of Jillibean Soup Homemade, Studio Calico scrap pads and lots of fun embellishments.


Place your order here. I love all the greens, it coordinates with my little pea pod from last year :)


And how about that that soft yellow WEbster's ribbon?...so pretty


The red Jenni Bowlin doily flowers makes the card pop don't you think?

This photo is one of my favorites from last year. I didn't dress up this year...makes me wish i did.


I've got two more projects to share later on this month. Happy Scrappin!


Sunday, October 30, 2011

Happy Halloween!

The last day to display my spooky decor before it all goes down and Mr. turkey comes up. Hope everyone has a fun and safe Halloween.


3 Scrappy Boys Nov Sneak Peek

It's getting closer! November is right around the corner, just one more day away. Here's a little sneak peek at the 3 Scrappy Boy's November kit.


I had so much fun playing with it and can't wait to share the full reveal. This month I received the Main kit and was able to get 5 layouts and a card completed. In fact, I used every little bit of it up and nothing is left...awwww...feels so good. It was perfect for my fall photos.

Tuesday, October 25, 2011

Fall Back Challenge

Did you see Kelly Goree's cover page to Scrapbook and Cards Today? Such an adorable page, loved all the folded leaves. I tried the organomi folding but didn't turn out right because my squares were too big so decided to go with chipboard pieces instead. Here's my take


Working on some fun sneaks for my first 3 Scrappy Boys kit...almost time for the reveal!

Monday, October 17, 2011

DIY: Raspberry Shortcake Costume

My six year old daughter is a size 14, it's getting very hard finding flattering clothing and Halloween costume shopping was just an adventure too. She likes this Raspberry shortcake costume we saw in the store but they don't have her size. So I told her I'd try to make it. Me...the mother that purchased a sewing machine so that she could sew on her layouts...and has never made anything that gets more complicated than hemming a straight line.

So my first stop was the Goodwill, and it happened to be my lucky day! All summer clothing was half price and I scored with these two items: a Gap polka dot Dress $1.99 and pink wrap for $1.99 minus the 50% discount had me checking out at $2.12!! (Happy.Dance) I wanted a red wrap but beggers can't be choosers and buying a red sweater and then having to sew it shorter was one step too much. I'm keeping it at the Level "EASY" here.


At home I searched her closet and found the perfect lime green top from Children's place purchased a couple years ago when it was on winter clearance. Next step, I went though the boxes of outgrown baby/toddler clothing to find matching lime green fabric and scored again with a pair of 24month old pants that we got from Walmart for a $1 back when she was 2 years old. I couldn't find the right color of green ribbon in my stash for the center of the belt but Michaels had in their xmas display the perfect color for $1.99 per roll. A little bit of snipping and a little bit of sewing and this pair of old pants made the perfect belt and head piece.


Next I dug out my cuttlebug and circle spellbinders to roll out 7 raspberries for the belt and 7 raspberries for the headband out of some hot pink felt I had in my stash.


The only additional item I had to buy was the pink wig which is optional but daughter really wanted it.

Not to bad for a novice if I don't say so myself...meet our little Raspberry Shortcake whose entire costume was created minus the wig for only $4.12.


Related Posts with Thumbnails